
The Manifold Air Pressure (MAP) sensor in your car plays a crucial role in assisting the Engine Control Unit (ECU) to adjust the fuel-to-air balance in the combustion chamber. However, if the MAP sensor is faulty or provides intermittent information, it can disrupt the engine’s air-fuel ratio.
This imbalance in the ratio can cause the ignition to occur at an improper time during the combustion cycle. As a result, the engine may exhibit symptoms such as stalling, hesitation, and even misfires.
Though these can be symptoms of a lot of other common engine problems, to understand if your MAP sensor is going out or completely failed and needs replacement, we’re going to have to take a closer look at the MAP sensor’s role in engine performance and what the ECU might be trying to tell you.
How Does a MAP Sensor Work?

Your car’s MAP sensor is continuously monitoring the barometric pressure of the air in the intake manifold. This data is sent to the ECU, combining it with data from the intake air temperature (IAT) and the Engine Coolant Temperature (ECT) sensor to optimize the fuel/air mixture.
A sealed chamber inside the MAP sensor has a vacuum in a controlled pressure vessel calibrated specifically to your car’s engine. The sensor has a flexible silicon wafer chip with an electrical current running through it.
The MAP sensor starts measuring the ambient barometric pressure sensor from the instant you turn the key. It instantly sends a barometric reading to the ECM, informing it of the air density. When the key reaches the ON position to start the engine, the pressure in the intake manifold decreases as a vacuum is applied to the MAP sensor, this alters the chip, and seamless data is transmitted to the ECU as the engine starts and goes through every internal combustion cycle.
As you press the gas pedal to set off, the pressure in the intake manifold increases, which decreases the vacuum pressure. This flexes the chip upward into the sealed chamber, which causes a resistance change in the electrical voltage, which tells the ECU to inject more fuel into the engine.
How Long Do MAP Sensors Last?
Automakers technically design MAP sensors to last throughout the full life of the car. However, in practice, this is rarely the case, as the average MAP sensor usually requires replacement every 125,000 to 150,000 miles.
Factors such as extreme vibrations, clogged vacuum hoses, contamination, and other faults can cause a MAP sensor to fail prematurely. It is even possible for a MAP sensor to sustain damage from something as simple as accidentally bumping it while changing the air filter.
6 Clear-Cut Symptoms of a Faulty MAP Sensor and How to Diagnose Them
Early symptoms of a bad manifold absolute pressure (MAP) sensor usually start out as a decrease in fuel economy and the engine feeling down on power. As the sensor starts to fail, these symptoms tend to get worse, and you will start noticing more serious engine performance problems.
1. Decreased Fuel Efficiency And Poor Mileage

As a MAP sensor starts to fail, it sends partial or incomplete air pressure data to the ECU, causing it to add more fuel than necessary as it advances the timing of the engine. The greater the disconnect between the ECU and the MAP sensor, the worse the fuel economy becomes. In time, the excess fuel in the cylinders can lead to untimed detonation and potential misfires.
2. The Engine Feels Down on Power

If the ECU is reading a high vacuum from a bad MAP sensor, it simply assumes the load on the engine is low, causing it to reduce the fuel injection and slows the spark timing, causing the engine to feel down on power.
This usually starts with hesitation when you step down hard on the gas pedal to merge up to highway speed or pass another car. Sometimes the hesitation can be so bad that it causes the car to stall out when you need it to be speeding up!
3. A Rough Idle

A failing MAP sensor means the ECU can’t get the fuel/air mixture right, causing an increasingly rough idle. As the imbalance gets worse and worse, you might even notice the engine misfiring when you’re sitting at a set of stop lights.
4: The Car Starts Hard & Stalls Easily
Hard starting and a rough idle usually go hand in hand when you have a malfunctioning MAP sensor. The engine might idle increasingly rough to the point that it stalls from the gross imbalance of the fuel/air mixture. Then it struggles to start again, grinding away on the starter and battery before it finally turns over.
5. Foul Smelling Exhaust & Failed Emissions Tests

The excess fuel being dumped into the cylinders, caused by a MAP sensor, can come out as fuel odors and harmful emissions spitting out of the tailpipe. Excess fuel in the system might produce higher hydrocarbon and carbon monoxide emissions and higher nitrogen oxide in the gas. You can bet that these odd odors and excess emissions will also quickly fail a required emissions test.
6. The Check Engine Light Comes On

The imbalance in the fuel/air mixture caused by a bad MAP sensor will eventually cause the check engine light to come on. It might flash during moments when the engine hesitates or misfires, then turn off again. Eventually, though, the MAP sensor will cause a problem that triggers the check engine light to come on and stay on, forcing you to look into it.
Some newer vehicles have MAP sensor diagnostic trouble codes. This might be a simple circuit fault warning or a code for lack of signal from the specific sensor.
If your car doesn’t have a specific MAP sensor code, it might throw codes for a problem with the throttle position sensor (TPS), the crankshaft position sensor (CKP), or the idle air control valve and sensor.
Common Diagnostic Codes for a Bad MAP Sensor
If you have a somewhat newer car, it might have a MAP sensor diagnostic code. Even if it doesn’t, chances are good other engine faults caused by the failing MAP sensor will show up on the code reader, clueing you into what’s really going on.
If you hook it up to a scan tool, you should be able to see the changes in the MAP sensor readings when you rev the engine.
If you don’t have a scan tool or the codes the ECU has been throwing lead you to believe the MAP sensor is bad and you want to confirm it, you can always test it with a multimeter and a vacuum pump.
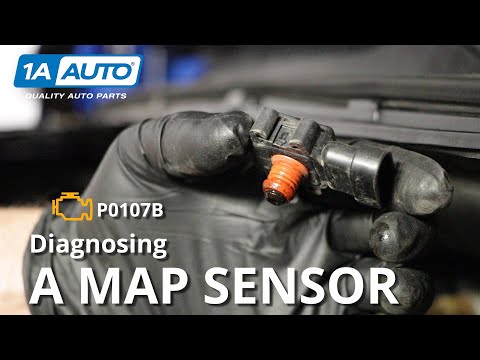
How to Diagnose a Bad Map Sensor with a Multimeter & Vacuum Pump

Troubleshooting a failing MAP sensor usually starts with interpreting the codes being thrown by the ECU when the check engine light comes on. You can then confirm that the sensor itself is bad using a digital multimeter and a vacuum pump.
Diagnosing a bad MAP sensor with a multimeter and a vacuum pump starts with locating the sensor on the intake manifold or the throttle body. It will have three wires coming out of a plastic housing that’s a little larger than a matchbox.
You’ll need to test the sensor itself as well as the vacuum hose connected to it. A lot of MAP sensor problems are caused by a leak or clog in the vacuum hose.
If you do feel a clog or find a crack, you’ll need to replace the hose before you can continue testing the sensor.
If the MAP sensor is still good, it should give you a reading of around 5 volts.
If the voltage reading is significantly higher than 5 volts, then the problem is likely in the wiring between the computer and the sensor.
If the MAP sensor is working correctly, it should give you a reading between 4.6 to 5 Volts.
If the MAP sensor is still good the reading should be right around 3.75 Volts.
You should see the voltage reading drop to around 1 to 1.5 Volts.
Manifold Air Pressure (MAP) Sensor Replacement Cost
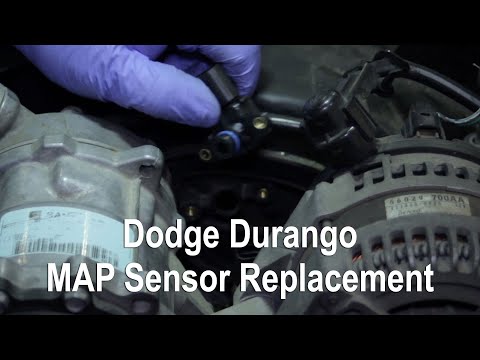
The average cost to have a mechanic replace your MAP sensor will run you between $125 to $175 for parts and labor. This is the sort of job a modestly capable DIY mechanic can handle.
The part cost for a replacement MAP sensor is usually between $75 to $110. Most auto parts stores carry MAP sensors for most popular domestic and foreign models. You’ll want to call ahead to ensure they have it in stock.
If you’re up for the job, you can save yourself $50 to $75 to replace it yourself. You can usually replace a bad MAP sensor in about an hour.
When you think about it, it’s like paying yourself $50 an hour in savings without waiting around or getting a ride from someone.
Frequently Asked Questions
Can I drive my car with a bad MAP sensor?
Driving with a with a failing MAP sensor can initially be manageable, despite experiencing engine hesitation, decreased fuel efficiency, and a rough idle. However, as the MAP sensor approaches complete failure, the risks escalate. The likelihood of misfires increases, and the unburned fuel entering the catalytic converter can potentially cause damage to the exhaust system. Additionally, there is a significant risk of the vehicle hesitating or stalling during critical maneuvers like passing or merging into high-speed traffic. Taking these factors into consideration, it is strongly recommended not to drive a vehicle with a with a bad MAP sensor. Considering these factors, it is strongly advised not to drive a vehicle with a bad MAP sensor.
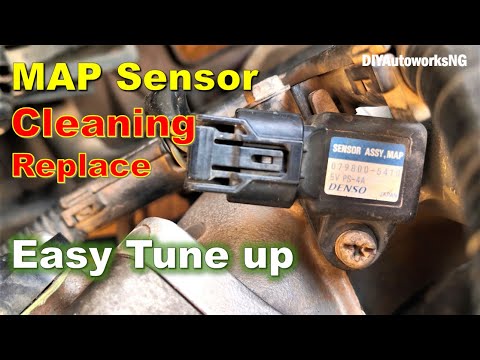
Does Cleaning the MAP Sensor Work?
If the MAP sensor failure was due to engine grime or contamination in the vacuum line, your MAP sensor might need a good cleaning. Just be sure to replace the hose first before using an electric parts cleaner. Just don’t use carb cleaner, as it will damage the MAP sensor’s plastic components.
How Do You Reset a MAP Sensor?
You can reset your MAP sensor after cleaning it by clearing the codes, reinstalling it, and then disconnecting the battery for 10 to 12 minutes. This will give the electrical system time to dissipate any lingering charge in the capacitors. At that point, you can reconnect the battery, start the car, and check that everything is running normally by taking a short drive.
Can a Car Run Without a MAP Sensor?
You might be able to get your car to start and run for a little bit without a MAP sensor installed, but the engine will be very rough and unresponsive. There’s also a serious risk of major misfires damaging the engine and the exhaust system. When you compare the potential cost of these repairs to the relatively low cost of replacing your old MAP sensor, it only makes sense to take care of it as soon as possible.
Conclusion
Symptoms of a failing MAP sensor usually start out as poor MPG, a rough idle, and an engine that has a knack for hesitating at the worst possible times. As the information coming from the MAP sensor becomes more intermittent or incorrect, the rough idle will get severe, and you’ll start stalling out. You might even start to notice some serious misfires and foul fuel odors coming from the exhaust.
A bad MAP sensor that turns the check engine light on will usually throw a code P0068, P0069, or code P0105 thru P0109. Though these codes could be the sensor itself, the wiring, or even a clog in the vacuum hose that connects the MAP sensor to the air intake.
If you have a scan tool, you can check the engine performance and compare it to the MAP sensor readings. Otherwise, you can test the MAP sensor’s three wires with a multimeter and a vacuum pump.
If you’re lucky, it’s just a clog or contamination in the vacuum line. The hose can be replaced, the sensor can be cleaned, and the ECU reset to keep the engine running normally. Otherwise, you can replace the MAP sensor yourself for a parts cost of $75 to $110. If you have a mechanic, do it for around $150.
Written By
Jason Farrell
Jason Farrell is a certified master technician, the editor of Mechanic’s Diary in Pittsburgh, Pennsylvania. He is ASE (Automotive Service Excellence) certified and earned a Bachelor’s Degree in Automotive Technology from Pittsburg State University. With nearly 18 prior years of experience in the automotive field, he has extensive knowledge about Domestic, European, and other foreign makes and models of cars and light trucks. Jason’s experience working as a technician and service manager at dealerships, gave him the experience and know-how of most aspects of inspection, diagnosis, and repair from engine and drivability to electrical, HVAC, brakes, steering and suspension and everything in between.